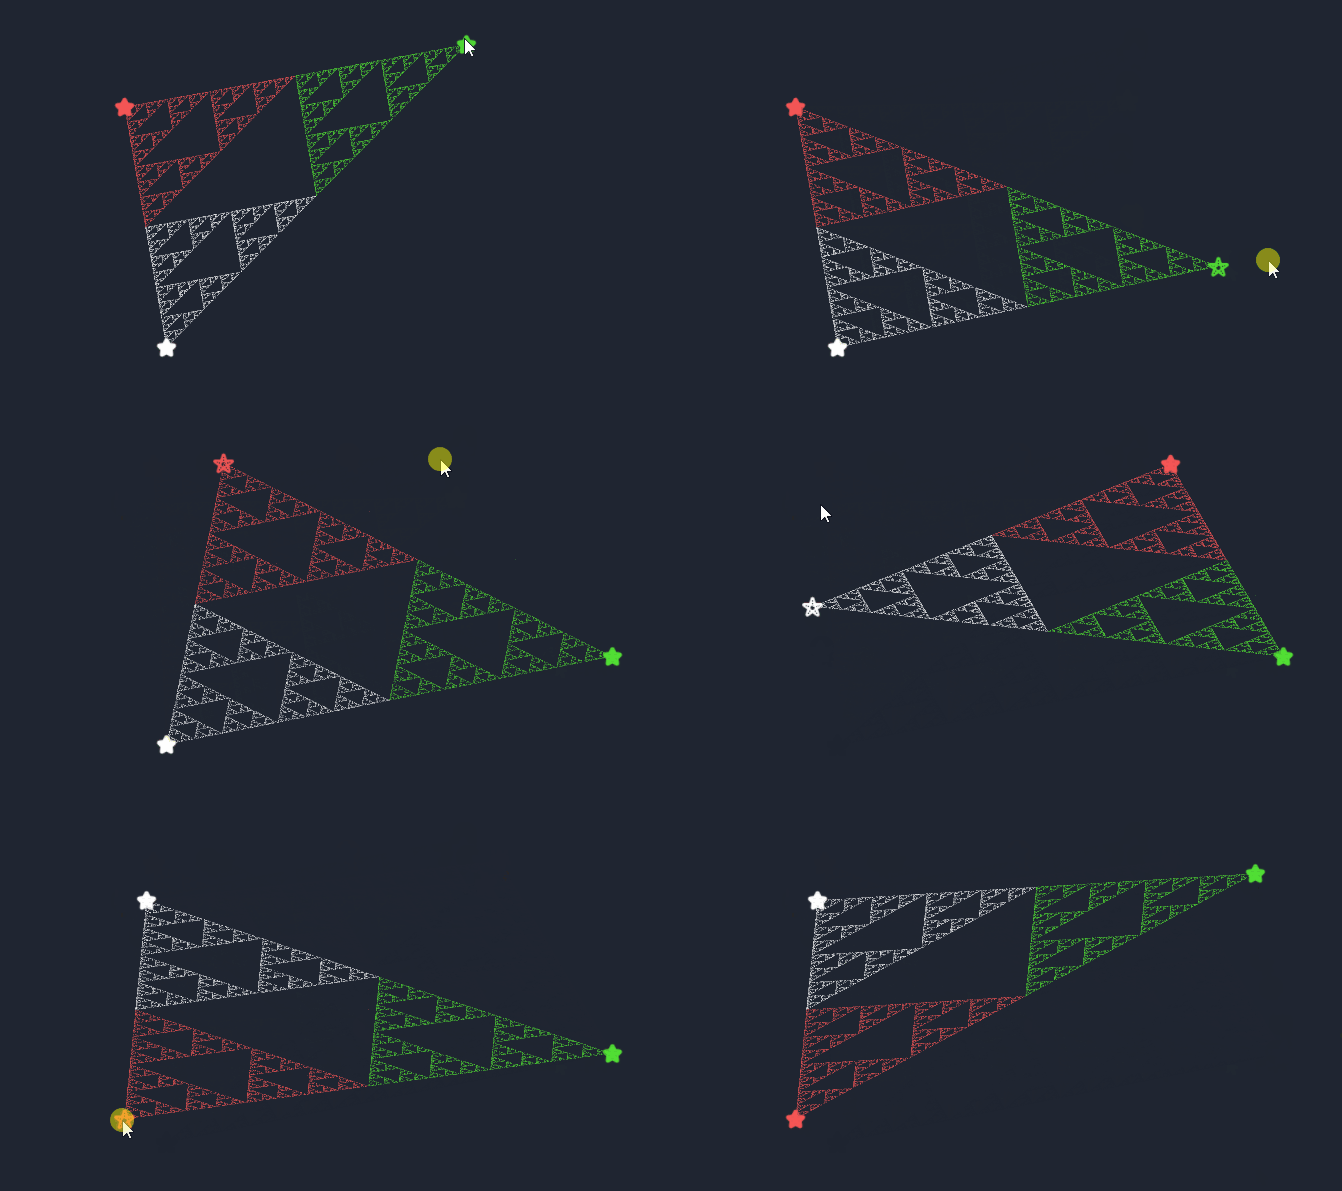
Thanks to TᴀᴄᴋᴇʀTᴀᴄᴋᴇʀ 🐰 I discovered the existence of chaos games: a method of creating a fractal, using a polygon and an initial point selected at random inside it. The mechanism is exquisitely mathematical and presents many variations and customizations. The results are very interesting:

There are many ways to achieve this. For example, TackerTacker made this implementation with C2. I have chosen to use only sprites. By now the technology is mature enough to allow you to manage lots of thousands of elements on a single web page: why not take advantage of it? The animation below shows how Construct 3 holds up 50.000 (fifty thousand) sprites in motion:

By optimizing the code, I believe it is possible to improve performance even more. By the way, let’s start with the code of this project, obviously also present on GitHub. The main function is this:
// c3Function ChaosGame_GenerateAllPoints(Quantity: number)
const quantity= localVars.Quantity;
const vertex = runtime.objects.Vertex.getAllInstances();
const nameObject = "Points";
const nameLayer = "Points";
const show = true;

const rules = ["normal"];

if (runtime.globalVars.Rule_NotEqualPrevious != "-") {
  rules.push("not equal previous");
}
if (runtime.globalVars.Rule_NotEqualPrePrevious != "-") {
  rules.push("not equal pre-previous");
}

Game.generateAllPoints({quantity, vertex, nameObject, nameLayer, show, rules});
In the first part I declare some variables and define the rules to be used to draw the various points. The last line contains a reference to the generateAllPoints function present in the module game.js. Again I think that with a little more work we could further simplify the code but for the moment I’m interested in showing the process I used:
function generateAllPoints({
          quantity,
          vertex,
          nameObject,
          nameLayer,
          show,
          rules }) {

	let x = choose(vertex).x;
	let y = choose(vertex).y;

	let previousVertex = [];

	for (let i = 0; i < quantity; i++){
		const point = PointsIntance.Create(nameObject,nameLayer, x, y);
		point.isVisible = show;
		point.setOrder(i);
		rules.forEach(r => point.addRule(r));
		point.setStarterPoint({x, y});
 		point.moveToStarterPoint();
		point.setPreviousVertex(previousVertex);
		const randomDestination = point.setRandomDestination(vertex);
		previousVertex = point.getPreviousVertex();
 		point.moveToDestination();
		x = randomDestination.x;
		y = randomDestination.y;
		point.colorPoint();
	}
}
Unlike my other experiments I am not working on variables added to object instances in Construct3. Instead, I chose to extend a class (“Sprite”) and work directly on this new class, the PointsInstance. In this way I can easily access a whole series of specific methods useful for my purpose:
Create(nameObject,nameLayer, x, y): create a new point in C3setOrder(i): assigns a progressive index to each pointaddRule(r): adds the rules that the point must respectsetRandomDestination(vertex): randomly chooses one of the allowed vertices towards which to draw the new point
With just these you can create something like this:

If, on the other hand, I add the ability to manage colors, and maybe increase the number of points up to 50,000, 100,000 or more, I can have a gallery of images like these:

It’s time to take a look at point.js, which is the PointsIntance class. One line of code is enough to create it:
class PointsIntance extends globalThis.ISpriteInstance {
  constructor(){
    super();
  }
}
Then, in the main.js file:
import PointsIntance from "./point.js";

runOnStartup(async  runtime =>  {
	runtime.objects.Point.setInstanceClass(PointsIntance);
})
For a more detailed explanation, I refer to the Construct 3 online guide.
Obviously it is not enough to declare the class, it is also necessary to fill it with methods useful for the purpose. Create() creates a new point:
static Create(nameObject, nameLayer, x, y) {
	return g_runtime.objects[nameObject].createInstance(nameLayer,x, y);
}
_randomVertex(vertex) instead chooses a random vertex from those available.
_randomVertex(vertex) {

	const uniqueSet = new Set(vertex);
	const previousVertex = this.previousVertex.length;

  if (this.rules.has("not equal previous") && previousVertex >= 1) {

    const toDelete = this.previousVertex[previousVertex-1];
    uniqueSet.delete(toDelete);
  }

  if (this.rules.has("not equal pre-previous") && previousVertex >= 2) {
    const toDelete = this.previousVertex[previousVertex-2];
    uniqueSet.delete(toDelete);
  }

  const vertexCleaned = [...uniqueSet];
  const index = Math.floor(Math.random() * vertexCleaned.length);
  const randomVertex = vertexCleaned[index];
  return randomVertex;
}
To make things easier I decided to use Set instead of an array - that way I’m sure not to duplicate the rules and I can easily check which rules are matched to the point. However, I admit that the idea came to me from an article published on Medium (How to Remove Array Duplicates in ES6) a couple of years ago.
The other methods are for recording the starting position of the point and the ending position. However, one thing is worth noting:
setRandomDestination(vertex) {
  const randomVertex = this._randomVertex(vertex);

  this.previousVertex.push(randomVertex);

  this.pointDestinationVertex = randomVertex;

  const startX = this.pointStarter.x;
  const startY = this.pointStarter.y;

  const distanceX = (startX - randomVertex.x)/2;
  const distanceY = (startY - randomVertex.y)/2;

  const x = startX - distanceX;
  const y = startY - distanceY;

  this.pointDestination = {x, y};
  return {x, y};
}
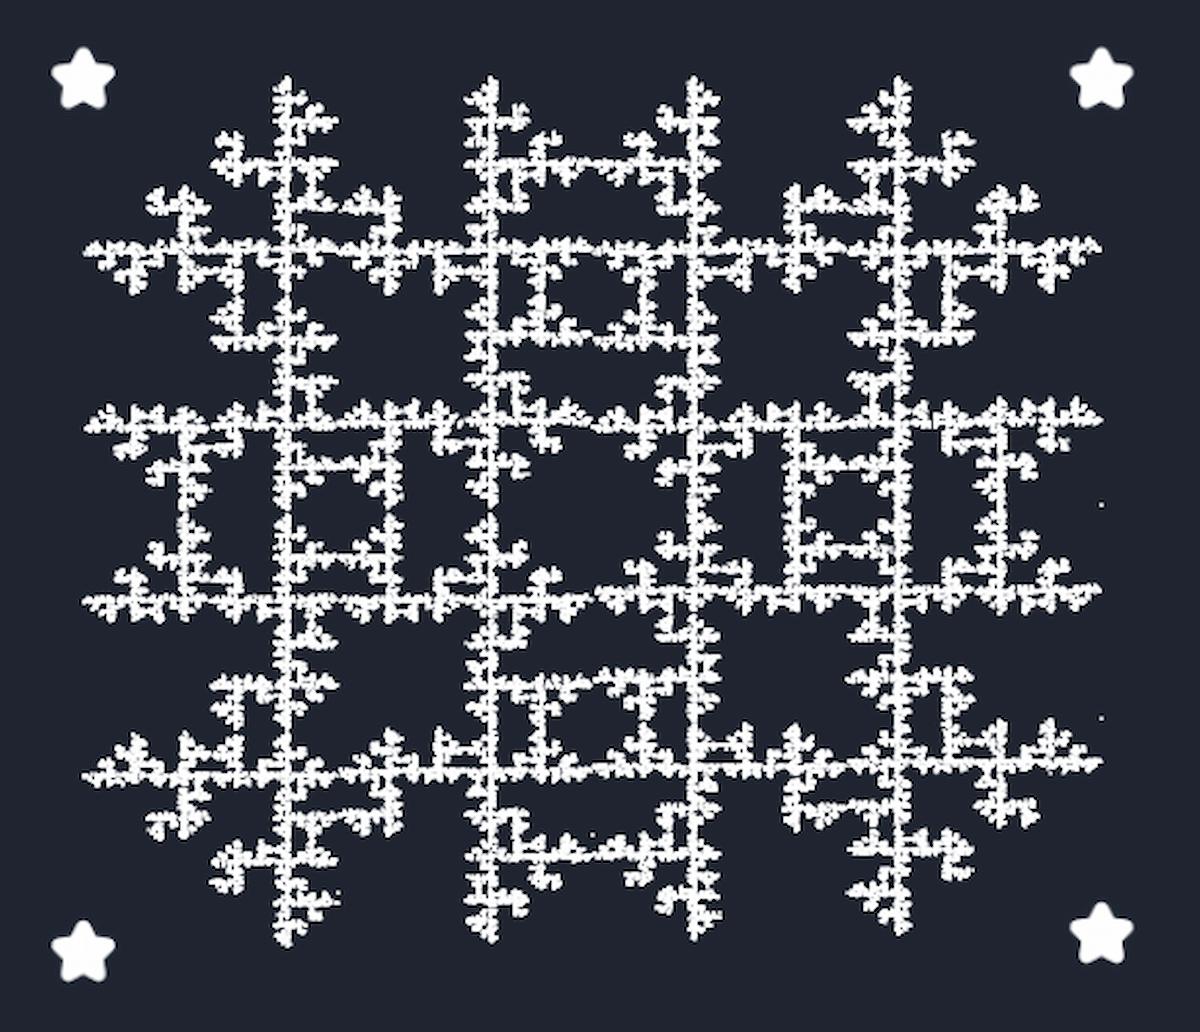
In setRandomDestination(vertex) I calculate the target position of the point with a 1/2 ratio. But interesting effects can be obtained by varying this parameter. For example with
const distanceX = (startX - randomVertex.x)*2/3;
const distanceY = (startY - randomVertex.y)*2/3;
you can get a design like this

As I said at the beginning, there are still some possible improvements and we could still add some parameters to the user interface. But for the moment I’ll stop here. I remember that, as usual, the code of this project is available on GitHub:


