The past two weeks have been pretty hard. A sudden death hit my family, annihilating us. Programming has generally always been a safe heaven to take refuge in, a chance to bring some order to my otherwise chaotic world. In part it was like that this time too, even if I didn’t want to publish, to share, to get in touch with the outside world. Anyway, this week’s project is an excerpt of an idea for a working project.

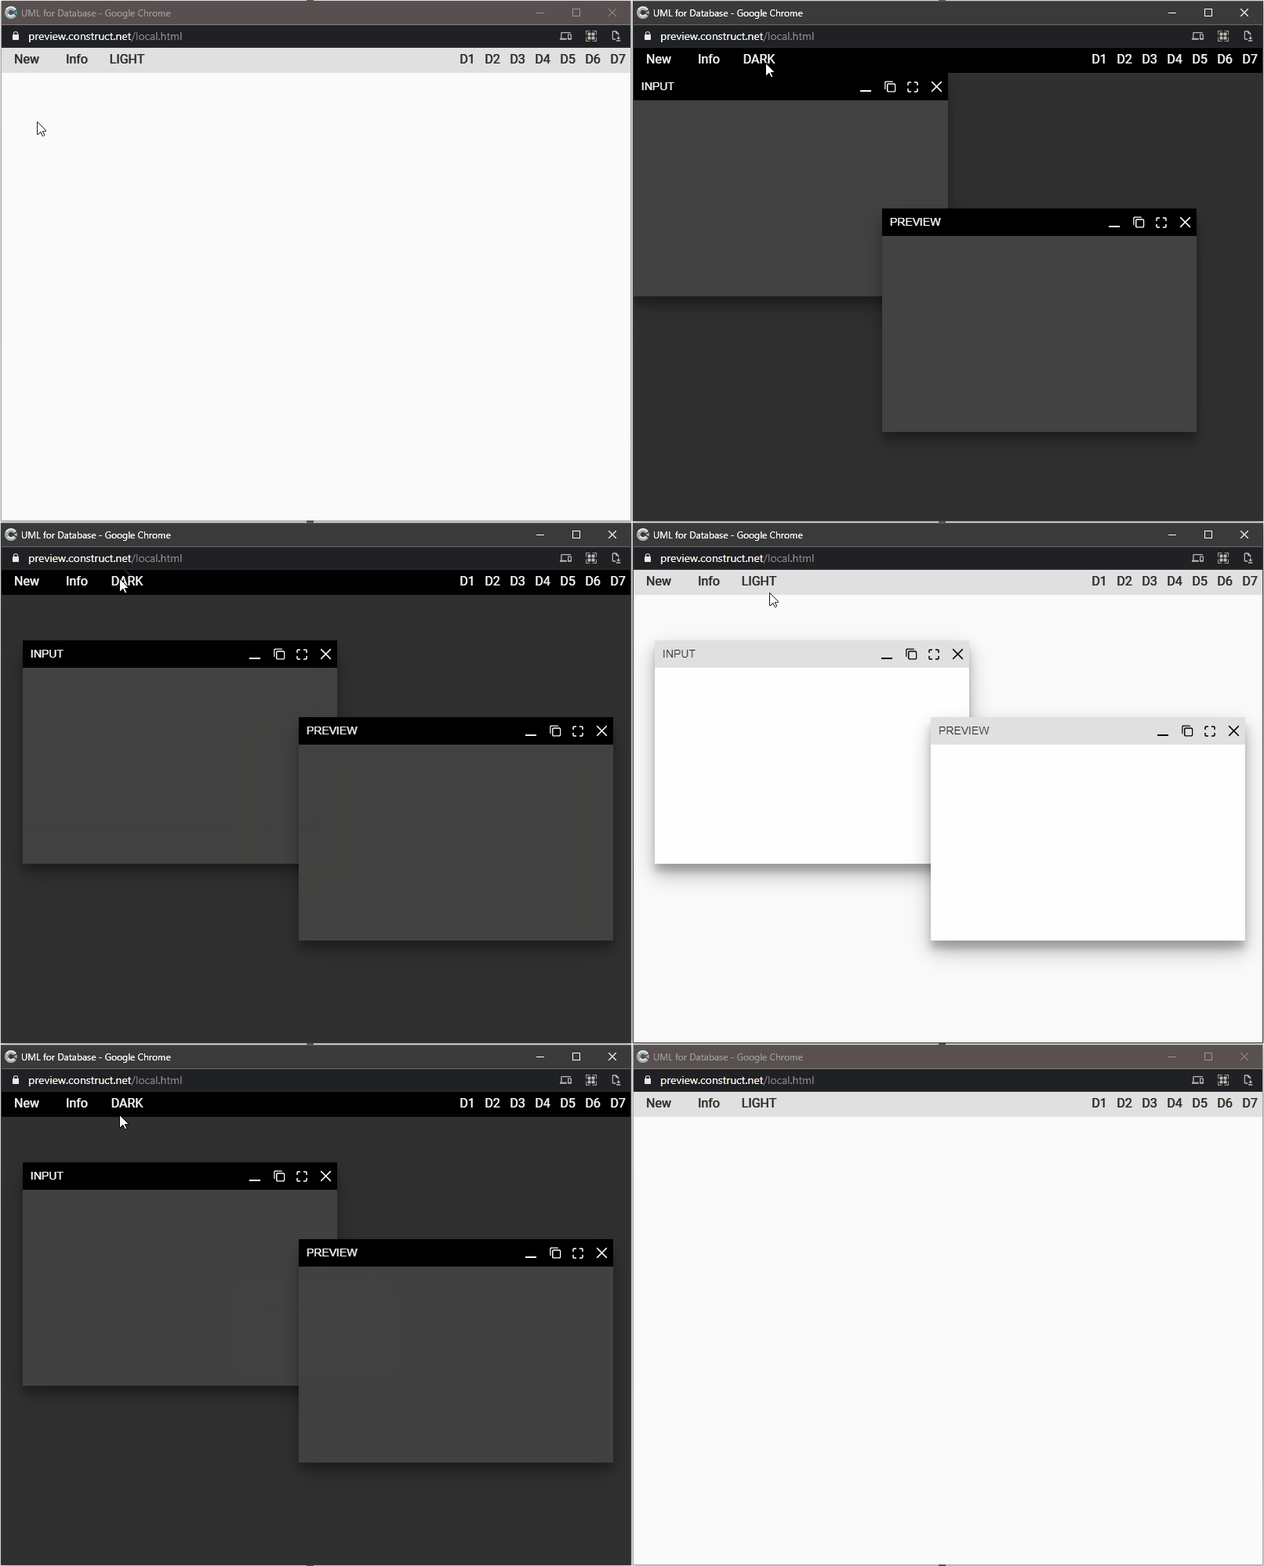
It is an experiment on how to graphically represent the relationships between tables in a database. This is not a complete thing, just the graphical interface, but there are 4 interesting aspects in my opinion:
- the ability to choose between a light theme and a dark theme
- creating a modal window above the application (in this case to show information about the app)
- the management of separate windows with the possibility of minimizing, maximizing and closing them
- the graphic representation of diagrams written in a textual language

The management of the themes is done through a global variable:
const Globals = {
	theme: {
		light: {
			statusBar: "#E0E0E0",
			appBar: "#F5F5F5",
			background: "#FAFAFA",
			card: "#FFFFFF",
			textPrimary: "#222222",
			secondaryText: "#455A64",
			textDisabled: "#CFD8DC",
			textInteractive: "#0071BC",
			textError: "#BF0000"
		},
		dark: {
			statusBar: "#000000",
			appBar: "#212121",
			background: "#303030",
			card: "#424242",
			textPrimary: "#FFFFFF",
			secondaryText: "#B0BEC5",
			textDisabled: "#B0BEC5",
			textInteractive: "#FFFFFF",
			textError: "#FFFFFF"
		}
	}
};

export default Globals;
To change the color of the different elements I use a function similar to this:
function themeColorize(name) {
  const theme = Globals.theme.selected;

  const instances = runtime.objects[name].getAllInstances();

  for (const inst of instances){
    const color = inst.instVars.Color;
    const colorHEX = Globals.theme[theme][color];
    inst.colorRgb = hexToRGBA(colorHEX);
  }
}
For the management of the windows (including the modal one) I used WinBox.js, a library particularly suitable for this purpose. For example, a function similar to this is enough to open the window with the information about the application
function toggleWinInfo() {
  const info = document.getElementById("winbox-info");

  if (!info) {
    const theme = Globals.theme.selected;

    const projectName = runtime.projectName;
    const projectVersion = runtime.projectVersion;

    const html = `
    <div style="text-align:center;" id="winbox-info">
    <h3 style="color=${Globals.theme[theme].textPrimary}">${projectName}</h3>
    <p style="color=${Globals.theme[theme].secondaryText}">v: ${projectVersion}</p>
    </div>
    `;

    new WinBox({
      title: "Info",
      class: theme,
      modal: true,
      background: Globals.theme[theme].statusBar,
      top: 32,
      x: "center",
      y: "center",
      width: 200,
      height: 150,
      html
    });
  }
}

Finally the graphs. I chose to use Mermaid , a library that allows you to represent graphics and diagrams starting from a textual representation. Like Markdown, but for diagrams.
This part took a little more work because it requires integrating the creation of two new windows and their mutual linking. First I create the window to use as input:
const theme = Globals.theme.selected;

const htmlInput = `
<div class="editor" id="input-1" contenteditable="true"></div>
`;

new WinBox({
  title: "INPUT",
  class: theme,
  background: Globals.theme[theme].statusBar,
  top: 32,
  html: htmlInput
});
Then I created the window to show the graph:
const theme = Globals.theme.selected;

const htmlOutput = `
<div id="output-1"></div>
`;

new WinBox({
  title: "PREVIEW",
  class: theme,
  background: Globals.theme[theme].statusBar,
  top: 32,
  x: 32,
  y: 32,
  html: htmlOutput
});
Finally I connected the two windows in order to automatically update the drawing of the graph with each modification of the text contained in the first window.
document.getElementById("input-1").addEventListener("input", (e) => {
  const output = document.getElementById("output-1");
  if (output.firstChild !== null) {
    output.innerHTML = "";
  };

  const code = e.target.innerText;
  const insert = function (code) {
    output.innerHTML = code;
  };
  mermaid.render("preparedScheme", code, insert);
});
As a final touch I added the ability to show some example code by importing it directly into the input window and updating the output window
function showDemo(code) {
  const input = document.getElementById("input-1");
  if (input) {
    const number = localVars.number;
    input.innerHTML = code

    const output = document.getElementById("output-1");
    if (output) {
      if (output.firstChild !== null) {
        output.innerHTML = "";
      };
      const insert = function (code) {
        output.innerHTML = code.trim();
      };
      mermaid.render("preparedScheme", code, insert);
    }
  }
}
This project is currently a prototype but can already be used to test the potential of an application of this kind.
As usual I have shared the complete code on Github.


